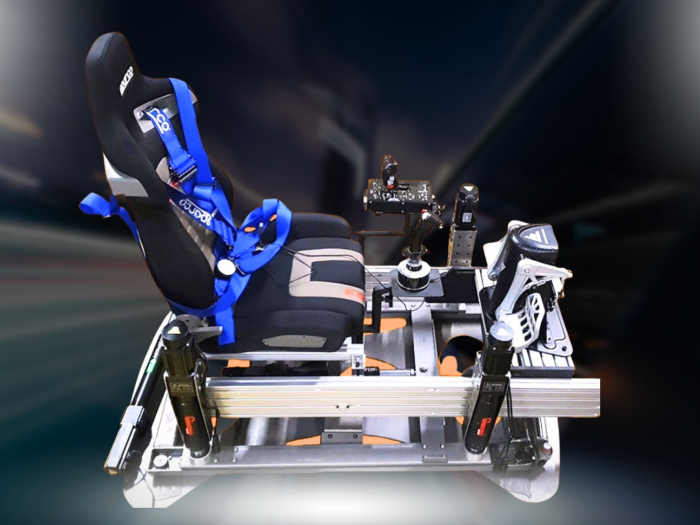

What makes the most immersive sim rig: the biggest collection of hardware, or a setup where every component works together? An ultimate home racing cockpit is a coherent system, shaped around your room, driving position and goals, not simply a collection of premium parts.
It’s easy to focus on the wheel or display first. But a convincing, usable setup depends on how the seat, controls and visuals come together, and whether there’s room to add motion without making the rig awkward to use. Compatibility matters too: each part needs to fit into a setup that works as a whole.
This guide will help you plan a cockpit around your available space and preferred driving position, understand how its key components build immersion, and map a practical upgrade path from a static rig towards motion. You’ll also see where a LowSlider 3DoF or 6 DOF Twin-Traction-Loss Motion Platform can sit in that system, translating simulator telemetry into physical feedback. Start with the experience you want, then build a rig that delivers it with purpose.
Key Takeaways
- Understand what belongs in a cockpit itself, and how it differs from the wider sim-racing setup.
- See how simulator telemetry can become physical cues for acceleration, braking and cornering.
- Compare static, motion-ready and motion-equipped layouts to find an approach that suits your priorities.
- Use a practical planning sequence to account for access, seating adjustment, cables and movement.
- Explore how a LowSlider platform can form the motion layer of your ultimate home racing cockpit.
What makes an ultimate home racing cockpit feel complete?
A cockpit is the physical driving position and the hardware arranged around you. It gives your seat, steering wheel, pedals and display a stable, usable relationship, so you can concentrate on the circuit rather than shifting equipment between sessions. The wider sim-racing setup also includes elements such as the computer or console and simulation software. The cockpit is the part you sit in and interact with.
In brief: A complete home racing cockpit brings together a frame, seat, steering wheel, pedals and display in a stable arrangement that fits the driver and the available room. Motion can add physical movement, but it isn’t a substitute for those fundamentals.
The evolution of racing video games has brought increasingly immersive ways to experience virtual motorsport. Yet realism isn’t created by equipment alone. If the frame flexes, the seat position feels wrong or the pedals shift under pressure, the experience can feel disconnected, no matter how advanced the rest of the setup is.
Which components form the physical cockpit?
Think of the cockpit as a connected arrangement, rather than a shopping list. The frame supports the seat and provides mounting points for controls. The seat holds you in a repeatable driving position; the steering wheel and pedals should sit where you can reach and operate them comfortably. A display completes the sightline, whether it’s positioned on a stand or incorporated into the wider arrangement.
- Frame and seat: A stable base and a position that suits your posture help keep you settled through a session.
- Steering wheel and pedals: Secure mounting and useful adjustment help you maintain consistent hand and foot placement.
- Display: Position it to support a natural view of the track from your seated position.
Adjustability matters because drivers differ in height, preferred posture and control placement. Look for a layout that lets you refine the distance and angle of the seat, wheel and pedals. These relationships affect whether you can reach the controls naturally and return to a consistent position between sessions.
A static cockpit stays fixed while you drive. A motion-equipped cockpit adds movement to the physical arrangement, but the frame, seat and controls still need to work together as the foundation.
What does ‘ultimate’ mean for a home driver?
It means the rig fits you and your room, supports a driving position you can return to, and brings the important cues together in a way that feels immersive. It doesn’t mean fitting every available upgrade into one space. A collection of costly but poorly matched components can be less satisfying than a carefully arranged cockpit built around your priorities.
If you’re new to sim racing, begin with a stable frame, comfortable seat and well-positioned controls. You can develop the setup as your interests become clearer. Experienced drivers may place greater emphasis on adjustability, a preferred display arrangement or a future motion upgrade. Neither route requires motion from the outset. The right cockpit is the one that makes your driving feel focused, repeatable and at home in your space.
How cockpit design turns simulator data into physical feedback
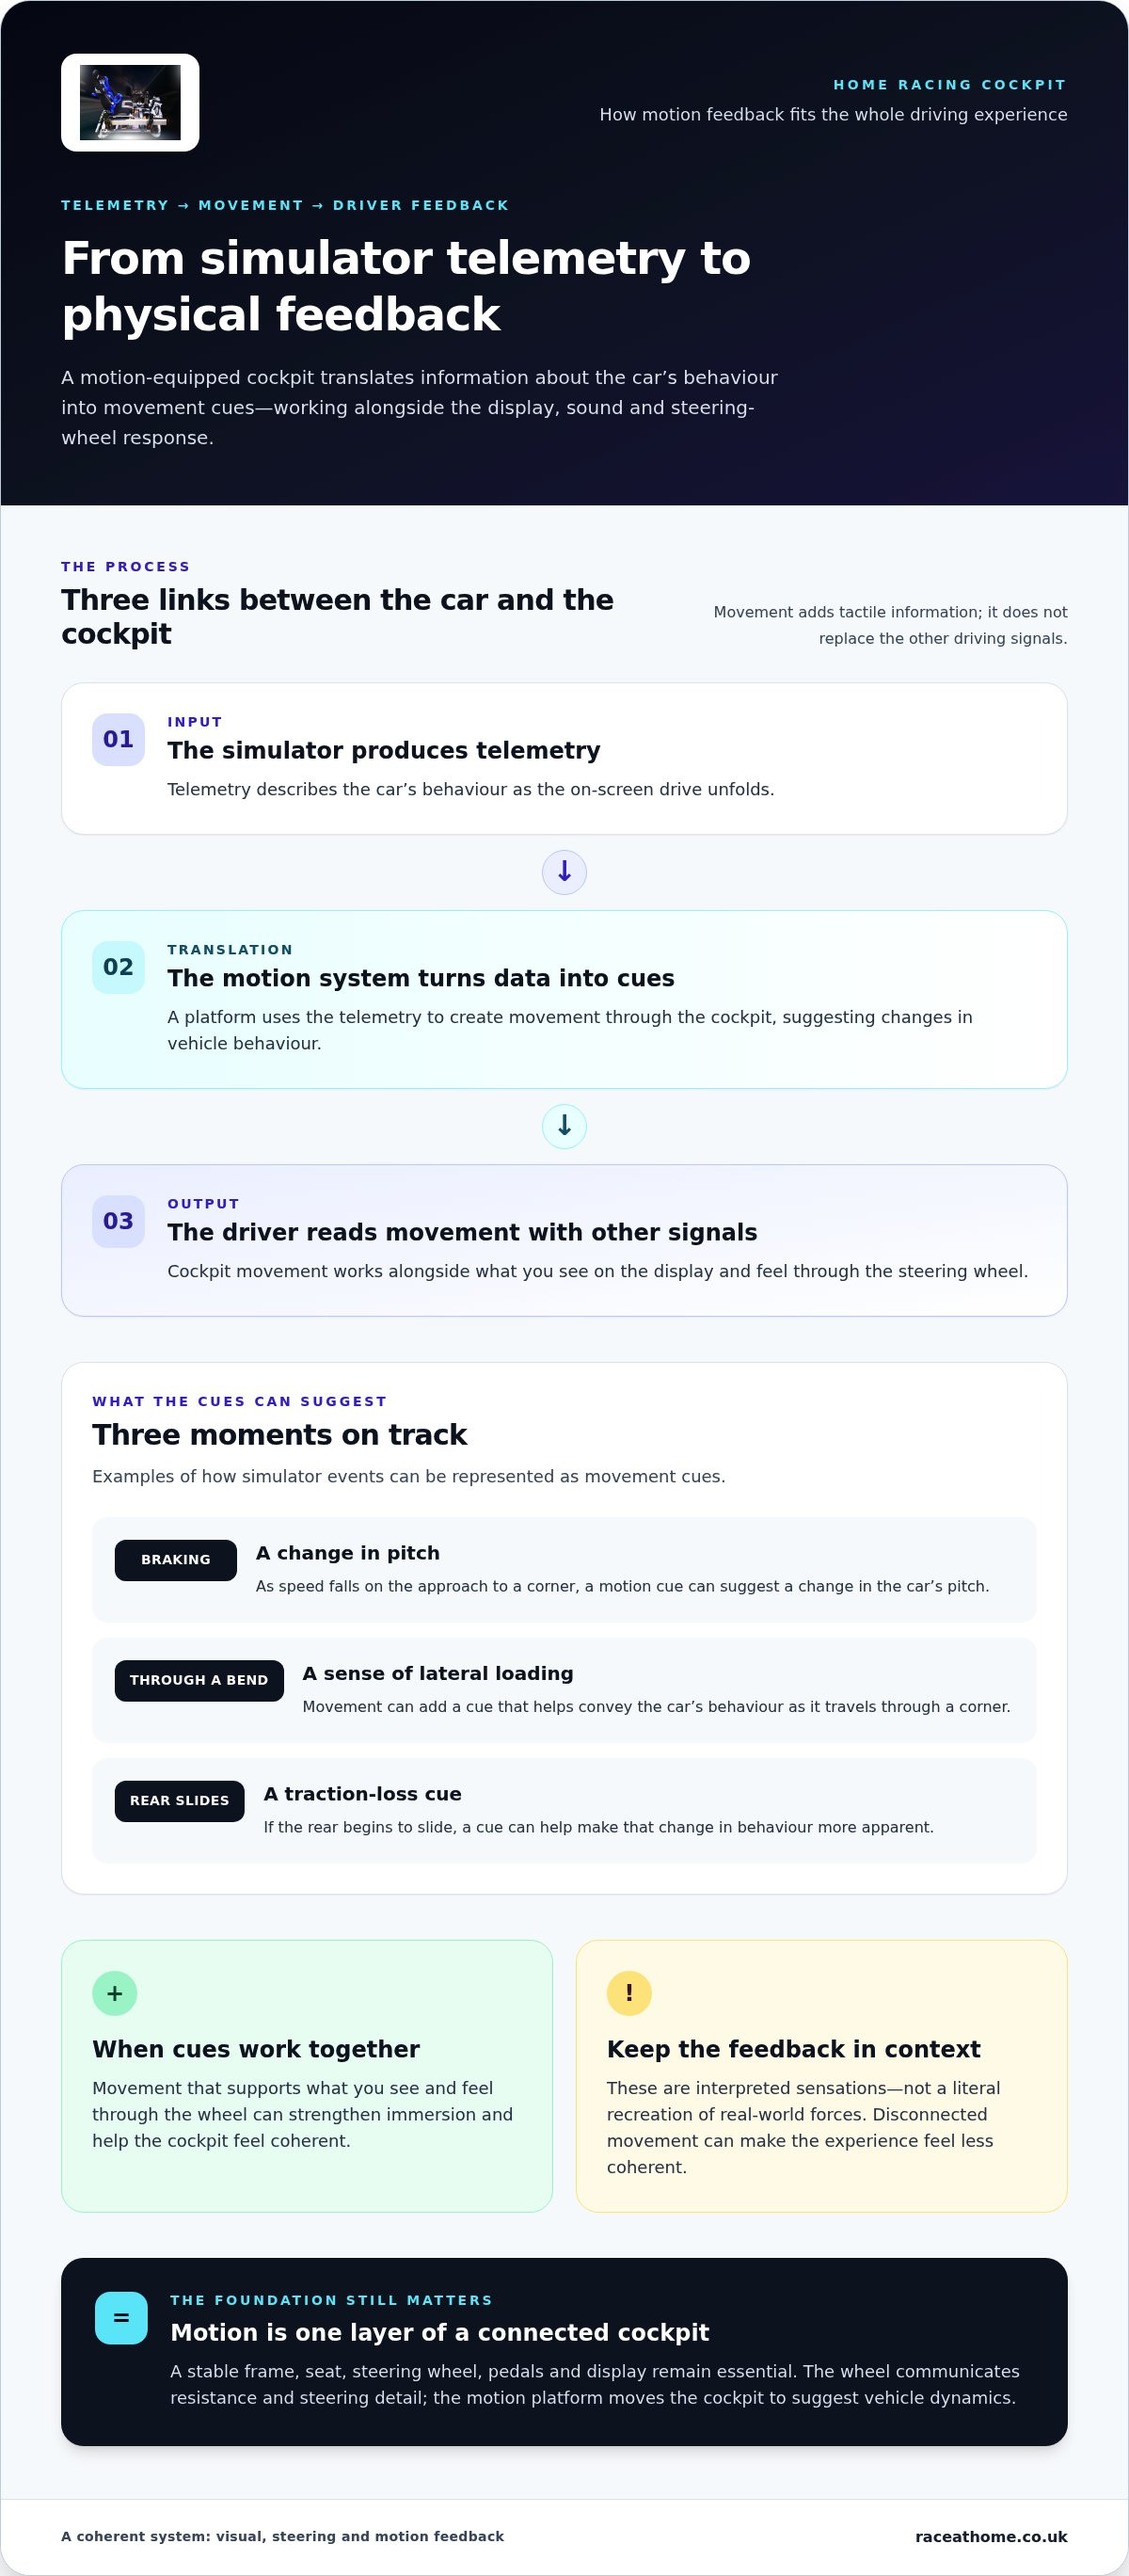
A motion-equipped cockpit adds another link between what happens on screen and what you feel in the seat. The simulator produces telemetry describing the car’s behaviour, and a motion system uses that information to create movement cues through the cockpit. The result isn’t a physical copy of every force acting on a real car. It’s another stream of feedback that works alongside the visuals, sound and steering-wheel response.
Consider a car braking into a corner. The screen shows the track approaching, the wheel communicates steering and tyre forces, and a motion cue can suggest a change in the car’s pitch as speed falls. Through a bend, a movement cue can add a sense of lateral loading. If the rear begins to slide, a traction-loss cue can help make that change in behaviour more apparent. These are interpreted sensations, not a literal recreation of real-world forces.
The effect depends on how the cues complement one another. A movement that supports what you see and feel through the wheel can strengthen immersion. If the sensations seem disconnected from the on-screen action, the cockpit may feel less coherent. Motion is best considered as part of the whole driving experience, rather than an isolated upgrade or a replacement for steering-wheel force feedback.
How does motion feedback change the driving experience?
Physical movement can make changes in vehicle behaviour easier to notice because it adds tactile information to the visual and steering cues you’re already reading. The wheel communicates resistance and steering detail through your hands; a motion platform moves the cockpit to suggest vehicle dynamics. They serve different roles. How useful or comfortable those cues feel varies by driver and setup, so motion shouldn’t be treated as a promise of faster lap times or a universal preference.
For an ultimate home racing cockpit, the key is balance: movement should support your awareness of the simulated car without overwhelming the other signals. A platform can translate telemetry into physical feedback, but your display and controls remain essential to understanding what the car is doing.
Where do 3DoF, 6 DOF and traction loss fit?
These labels describe different motion-platform approaches, not interchangeable names for the same experience. In general, degrees of freedom refer to the distinct ways a platform can move. A 3DoF platform and a 6 DOF platform therefore offer different movement capabilities, while the precise cues depend on the system and its configuration. The dedicated 6 DOF versus 3DoF guide explores those distinctions in more depth.
Traction loss refers to a cue associated with the car’s rear losing grip and moving sideways. Race@Home’s range includes the LowSlider 6 DOF Twin-Traction-Loss Motion Platform and the LowSlider 3DoF motion platform. Each sits beneath the cockpit as its motion layer; it doesn’t replace the seat, steering wheel or pedals. If you’re considering motion as part of your rig, explore Race@Home’s LowSlider motion platforms as one element in the wider system.
Which home racing cockpit layout best balances immersion and practicality?
The best layout depends on what you want to feel, what hardware you already own and how much room you can dedicate to the rig. A static cockpit can deliver a stable, focused driving position; planning for motion from the outset can make a later upgrade more coherent. A motion-equipped layout adds physical feedback, along with extra integration and placement considerations. Use this comparison to identify the approach that fits your priorities, not as a ranking from basic to best.
| Layout | Immersion potential | Space planning | Upgrade flexibility | Integration complexity |
|---|---|---|---|---|
| Static | Visual, audio and steering cues, with no platform movement. | Plan for the cockpit, display and access around it. | Can be expanded, subject to the frame and component arrangement. | Fewer motion-related elements to integrate. |
| Motion-ready | Static experience initially, with a layout planned around a possible movement layer. | Consider where a platform could sit and allow practical access. | Designed with a future motion upgrade in mind. | Requires forward planning for placement and component relationships. |
| Motion-equipped | Adds physical movement cues to visual and steering feedback. | Account for the platform and its movement within the room layout. | Motion is already part of the cockpit architecture. | More elements need to work together as a system. |
Static, motion-ready or motion-equipped: what changes?
A static rig isn’t a compromise by definition. If your priority is a dependable driving position and a clear view of the circuit, a well-arranged fixed cockpit may be the right answer. It can also be a sensible starting point while you learn which upgrades matter most to you.
If you’re interested in motion but not ready to add it, a motion-ready plan can preserve options. Think ahead about placement, access and how the seat and controls relate to a future movement layer. A motion-equipped cockpit brings that layer into the setup now, so room use and integration become part of the initial decision. Neither approach suits every driver.
How should you compare cockpit layouts?
Start with the physical relationship between driver and hardware. A stable frame should support the controls you intend to use, while seat and control adjustment help you settle into a repeatable position. Then consider your visuals separately: a monitor-based layout needs a screen position that works from the seat, whereas VR places the visual experience around the wearer. Your preference, existing hardware and room constraints will shape the best fit.
If platform choice is the deciding factor, the dedicated 6 DOF versus 3DoF comparison can help you explore that decision in greater detail. There’s no universally ideal architecture. If you value simplicity and a fixed footprint, static may suit you; if physical cues are central to your goal and the room can accommodate the system, motion-equipped may be a better match. A carefully planned ultimate home racing cockpit balances immersion with a layout you can comfortably use.
How to plan your home racing cockpit around space and hardware
Plan the room and the equipment together, before choosing the next upgrade. A simple floor plan and a written hardware inventory can reveal practical conflicts early, such as a display that blocks access or a future motion layer that leaves cables poorly routed. Use this sequence to turn your ambition into a workable plan for your ultimate home racing cockpit.
- Measure the intended space. Record the available floor area and note obstacles, nearby furniture and the route you’ll use to enter and leave the cockpit. Allow for seat adjustment, access to controls and cable paths. If you’re considering motion, include the movement envelope for the specific rig in your plan. There’s no universal clearance figure: the room and selected hardware determine what fits.
- Set your driving priorities. Decide what you want to improve first. Is your current limitation an uncomfortable driving position, a hard-to-read display or a lack of physical feedback? Write down your preferred posture and how long you typically use the rig. This keeps the plan focused on useful changes rather than upgrades that add complexity without addressing your needs.
- Map your existing hardware. List the wheelbase, pedals, display and the software you use, along with how each item is currently positioned or connected. Note mounting points and any connection requirements in the equipment documentation. This inventory gives you a practical starting point, but assess compatibility for the exact hardware and software combination rather than assuming it.
- Plan the upgrade path. Identify likely additions, such as VR or a motion platform, and consider their placement alongside your current controls and display. If motion is a future goal, leave a sensible route for cables and access to the platform. If you’re considering VR, plan how you’ll put on and remove the headset without disturbing the rig or nearby equipment.
What should you measure before arranging the cockpit?
Measure the footprint where the rig will sit, then consider how you’ll get into the seat and adjust it once seated. Mark the display position and trace where power and connection cables need to run, keeping access routes in mind. For motion, account for the selected system’s movement and placement requirements. Avoid relying on generic room dimensions: actual requirements depend on the hardware and your space.
How can you plan upgrades without rebuilding the rig?
Prioritise the change that addresses your current limitation, then check how it affects the rest of the layout. A mounting plan that works for today’s controls may need to accommodate a future addition, while software and hardware compatibility must be considered for the specific equipment involved. A broader sim-racing setup guide can help organise peripherals and compatibility questions alongside this room plan.
For a motion-led upgrade, explore Race@Home’s LowSlider motion platforms as a potential movement layer within your wider cockpit plan.
Make a LowSlider platform the motion foundation of your home racing cockpit
Motion is one layer of a cockpit, not the whole rig. A platform forms part of the physical arrangement that supports the driver and works alongside the seat, steering wheel, pedals and display. Its role is to translate simulator telemetry into movement cues, adding physical feedback to the visual and steering information you already use. The rest of the cockpit still needs to suit your posture, hardware and available space.
Race@Home’s LowSlider range gives home drivers two motion-platform options to consider: the LowSlider 6 DOF Twin-Traction-Loss Motion Platform and the LowSlider 3DoF motion platform. Built around Race@Home’s proprietary LowSlider design, the platforms have an ultra-low profile and compact footprint. Think through your driving priorities and room layout first, then consider how a motion layer would relate to your existing controls and display.
Which LowSlider platform could suit your cockpit plan?
Both platforms are part of the LowSlider range, but their names indicate different approaches to motion. The 6 DOF Twin-Traction-Loss model is identified by its six degrees of freedom and twin traction loss; the 3DoF model is identified as a three-degree-of-freedom platform. Those labels alone don’t describe every difference in use or configuration, so avoid treating them as interchangeable. A dedicated 6 DOF versus 3DoF comparison is the place to explore platform-level distinctions in more detail.
As you weigh the options, keep the full cockpit in view. The platform needs to sit within a planned arrangement that includes your seat and controls, with space for access and movement. Compatibility also depends on the specific software and hardware combination, so don’t assume that a platform, wheelbase and simulator will work together based on category names alone.
What should you expect when planning around LowSlider?
LowSlider motion platforms are hand-built to order. That describes how they’re made, not a promise of a particular driving outcome. The compact, low-profile design can be a useful consideration when planning how a motion layer will fit into your room and wider cockpit layout.
Race@Home simulators ship in four pieces for customer assembly, with full setup able to be completed in under an hour. For practical guidance on that process, consult the dedicated one-hour assembly article. Plan the setup area with access and cable routes in mind, and leave room for the rest of your cockpit hardware to work as intended.
If motion is the next step in your ultimate home racing cockpit plan, explore Race@Home’s LowSlider motion-platform range and consider how it fits into the complete driving setup you want to build.
Make your next cockpit upgrade count
Your next step doesn’t need to be a complete rebuild. Choose one change that moves your rig closer to the driving experience you want, then make sure it fits the room and works with the hardware you already use. That could mean refining your layout now or planning for a motion layer later. A considered upgrade path keeps your ultimate home racing cockpit focused on how you drive, not just on what you can add.
If motion is the direction you want to explore, compare the LowSlider options against your priorities and overall setup. Race@Home’s hand-built-to-order range includes the 6 DOF Twin-Traction-Loss and 3DoF platforms, with simulators shipped in four pieces for customer assembly in under an hour. Choose with your space, hardware and intended experience in mind.
Explore Race@Home LowSlider motion platforms and take the next step towards a more immersive rig. Build with purpose, and let every upgrade bring you closer to the drive you’re aiming for.
Frequently Asked Questions
What is the most important part of a home racing cockpit?
A secure, comfortable driving position is the foundation. If you can sit naturally, reach the wheel and pedals without straining, and keep your controls steady during use, the rig is easier to drive consistently. For example, if your knees feel cramped or the pedals move underfoot, adjust the seating or mounting arrangement before adding more equipment. The best first upgrade is the one that fixes a real limitation.
Can you build a motion racing cockpit at home?
Yes, you can build a home cockpit around a motion platform, provided you plan how its frame, seat, controls and display work together. Start by comparing the platform’s requirements with your intended space and the rest of your equipment. Then consider how you’ll manage access and cables around the assembled rig. The motion layer is one part of the system, so plan the complete arrangement rather than treating it as a standalone chair.
How much space does a home racing cockpit need?
There isn’t one space requirement that suits every cockpit. The footprint depends on your chosen frame, seat, display arrangement and any motion hardware. Measure the area where the rig will sit, but also leave room to get in and out, adjust your seating position and reach connections. A useful test is to mark the proposed footprint on the floor, then check that doors, walkways and nearby furniture remain accessible.
Is a motion cockpit suitable for a beginner?
It can be, but motion isn’t essential for learning sim racing. A beginner may prefer to establish a comfortable seating position and become familiar with steering and pedal control before adding more sensations. If you’re drawn to physical feedback from the start, plan for the extra hardware and space as part of the overall rig. Choose based on your interests and priorities, rather than assuming every new driver needs a motion system.
Can I use VR with a motion racing cockpit?
VR can be part of a motion cockpit, offering a view that moves with your head whilst the platform adds physical cues. Whether a particular headset, simulator and motion setup work together depends on the exact hardware and software combination. Before building around a specific pairing, review the compatibility information for each component. Also plan a clear, comfortable way to put on and remove the headset without catching cables or nearby equipment. Race@Home also supplies Pimax VR headsets for sim-racing setups.
Does a racing cockpit need to be fixed to the floor?
Not necessarily; the right arrangement depends on the cockpit and its components. A static rig and a motion-equipped system can have different placement considerations, so don’t assume the same fixing method applies to both. Follow the instructions for the specific frame and platform, and make sure the assembled cockpit remains stable during use. If you’re planning motion, consider the floor, access and surrounding space as part of the placement decision.
How long does it take to assemble a Race@Home motion simulator?
Race@Home simulators ship in four pieces for customer assembly, with full setup able to be completed in under an hour. Allow time to organise the parts and work through the assembly instructions carefully, then arrange your own seat, controls and display around the simulator. The final cockpit layout will depend on your other hardware and the space you’ve set aside.


